
Pilea Peperomioides Part 2 - Propagation
It's been awhile since I've posted my last blogpost about how to take care of a Pilea Peperomioides. I planned to do the next post a week later, but I'm a huge procrastinator, so two months later and here it finally is. This second post is about how to propagate a Pilea plant. Fortunately it's quite easy to propagate a Pilea plant, so once you've laid your hands on one, it's easy to multiply your collection of Pileas or give them away to family and friends.

One of the reasons the Pilea is so easy to propagate, is because the plant makes her own babies you just have to take away from her. There are two ways the plant grows new babies, some of them grow on the stem of the plant and other ones pop up from underneath the soil. Some Pilea plants grow their babies both ways and some plants only one way.

First up how to grow the plantlets that pop up from the soil. These are the easiest to grow, because they already have roots. Make sure they're big enough to grow on their own, the bigger they are, the more chance they have of surviving away from the Mother Plant. First you have to follow their stem about 1 cm underneath the soil. Then you just need to cut the plantlet there with a clean, sharp knife. Because these plantlets already have little roots, you don't need to put them in water first, but you can put them straight into moist soil. They take a few weeks to get anchored in their soil and then they will begin to sprout new leaves of their own.

Pilea cuttings from the soil
When I'm repotting my bigger Pileas, I think it's always fun to see the big roots forming little plantlets underneath the soil, growing towards the sunlight to get some green leafs.

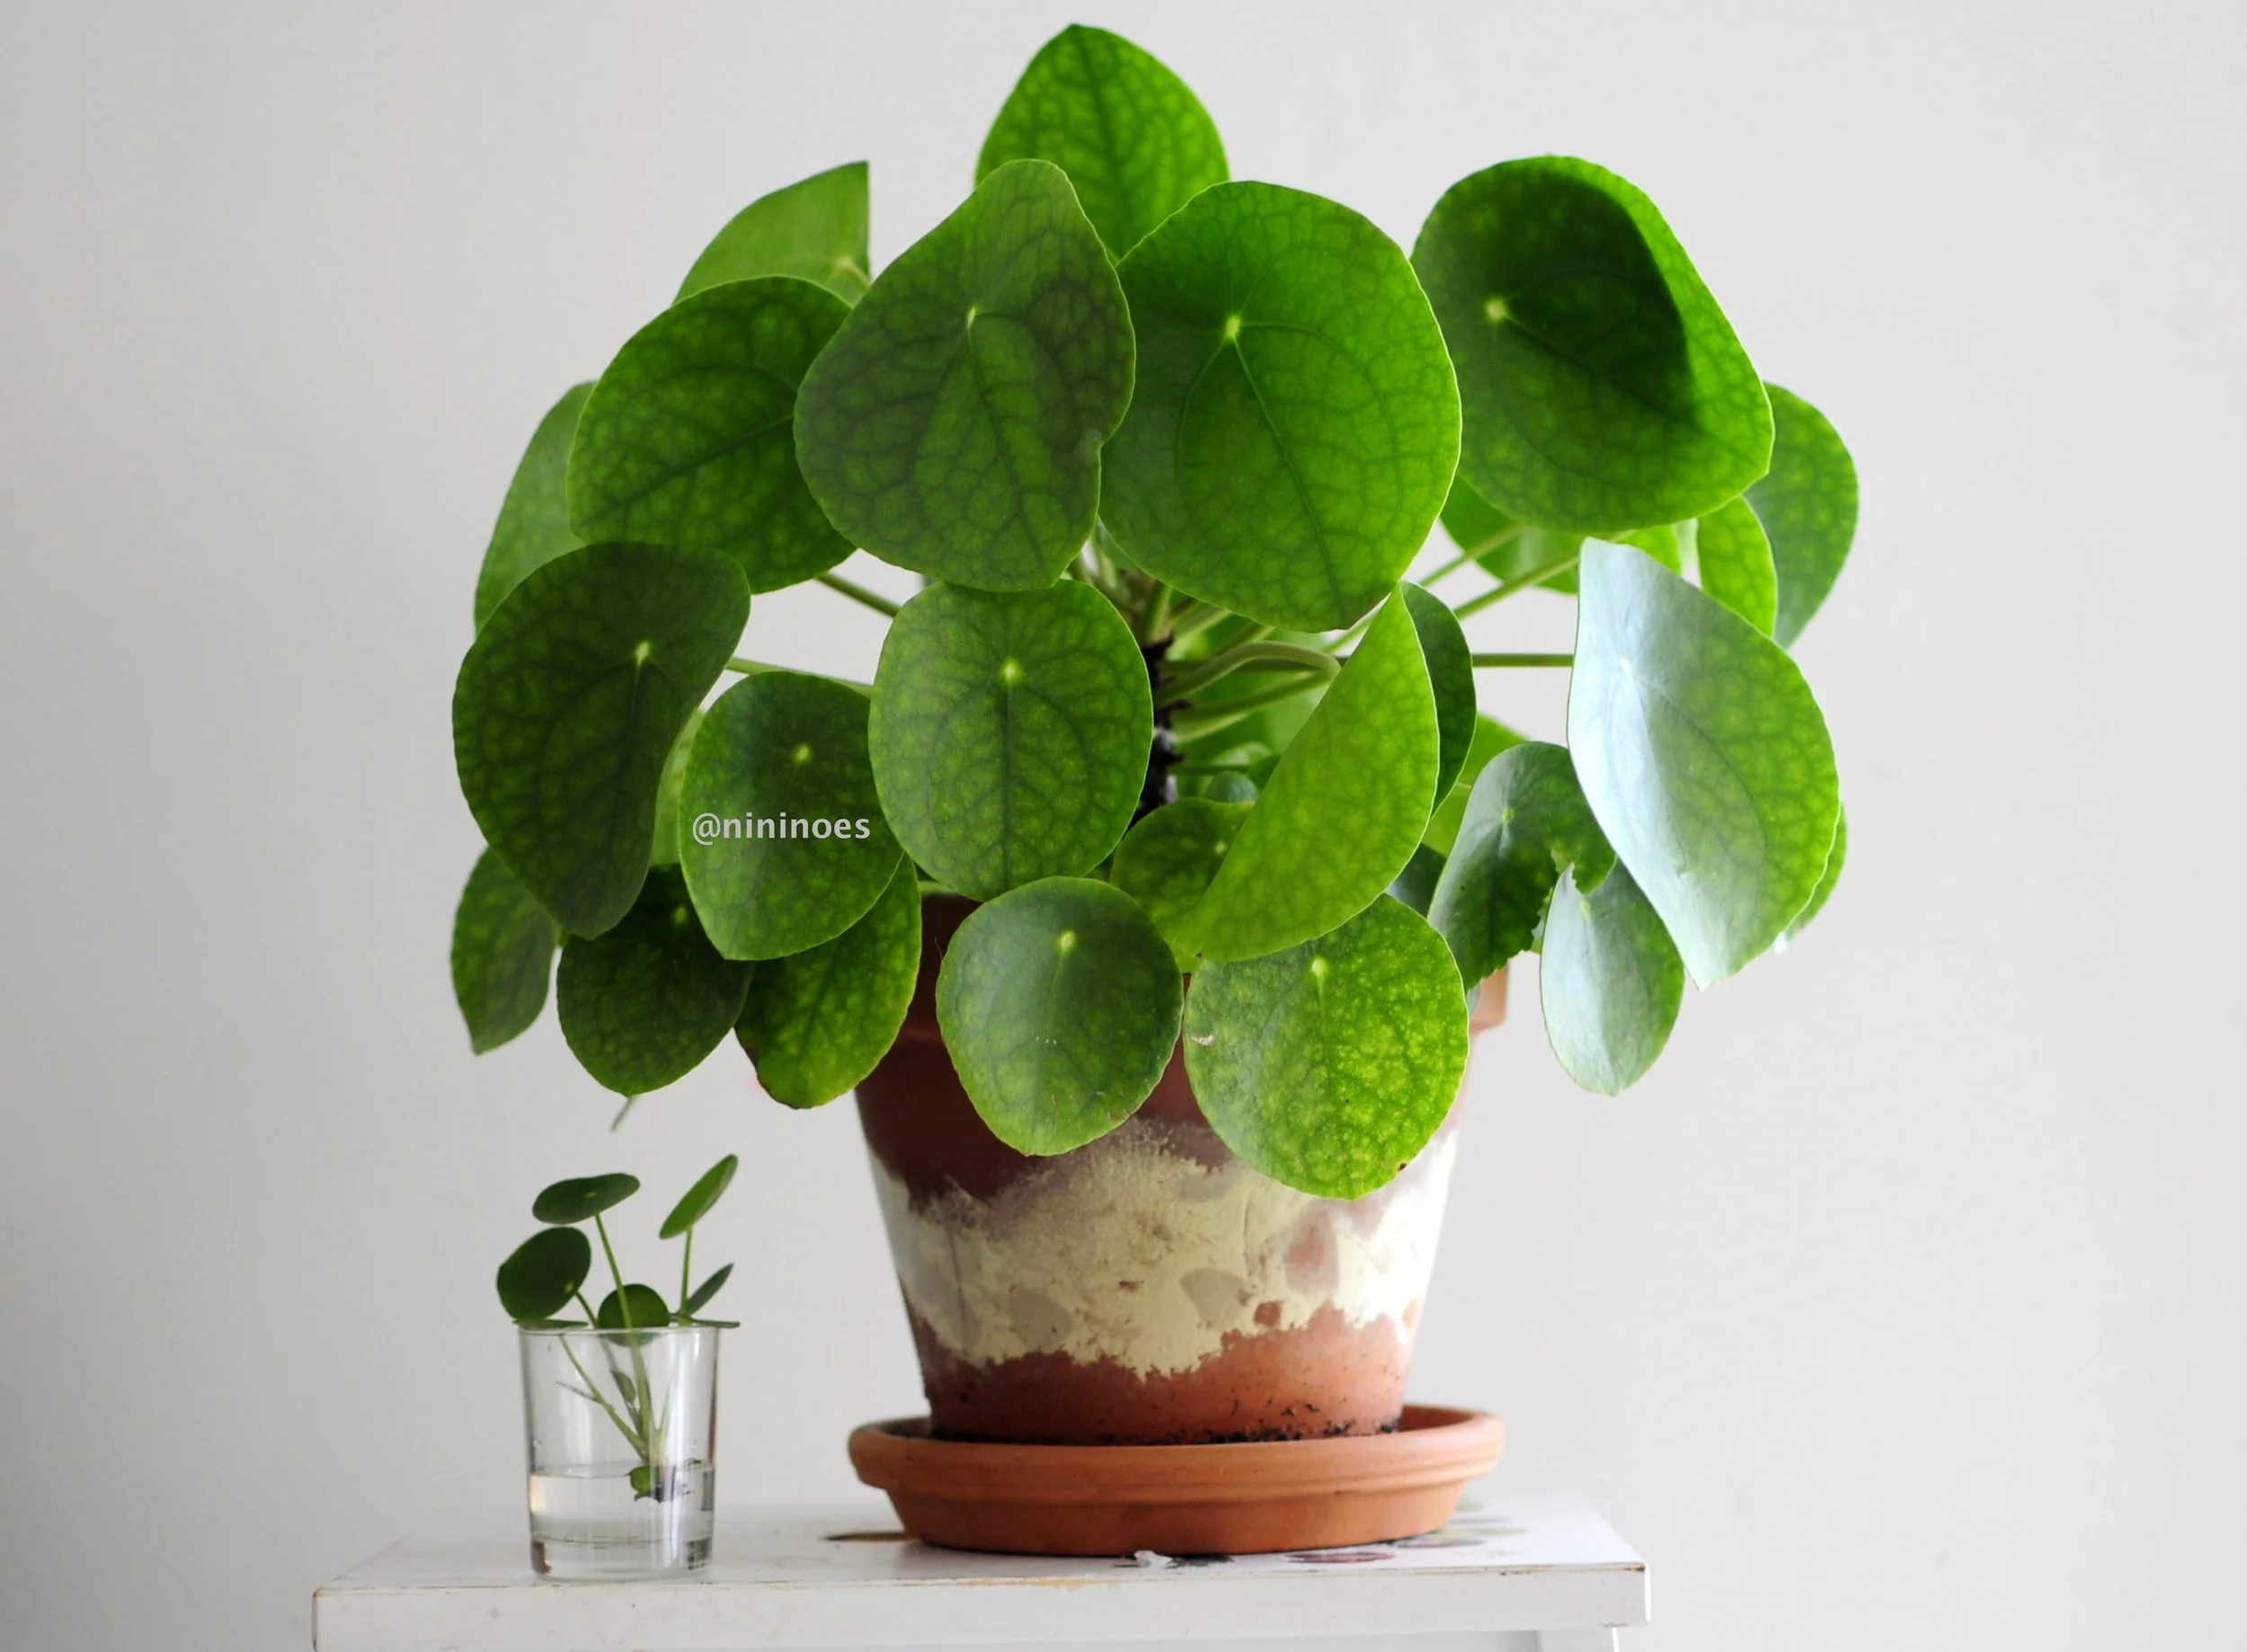
When propagating the plantlets that grow from the stem, you again have to make sure that they're big enough to survive on their own. Now all you have to do is use a sharp and clean knife and cut off the plantlet. Because these plantlets don't have roots yet, I always put them in water first to grow some roots, this takes about 1 or 2 weeks. Make sure the leaves of the plantlet don't touch the water. Once they have little roots, you can put them in soil as well. I've heard that you can put them straight in moist soil as well, but I've never tried this myself and I like the look of the little Pileas in water.

Pilea cuttings from the stem.
You can take cuttings of your Pilea all year round, but I think the best period to take your cuttings is in spring, that's when the plant grows the fastest and makes most of the babies. My own plants are having a little winter vacation and I'll wait until March or April before I will take new cuttings again.

All the cuttings from a single adult Pilea plant.
I hope I gave you all the information on how to propagate your own Pilea, but if you have any questions, please let me know! And don't forget to check my other blogpost about how to take care of your Pilea here.
xx. Anne


